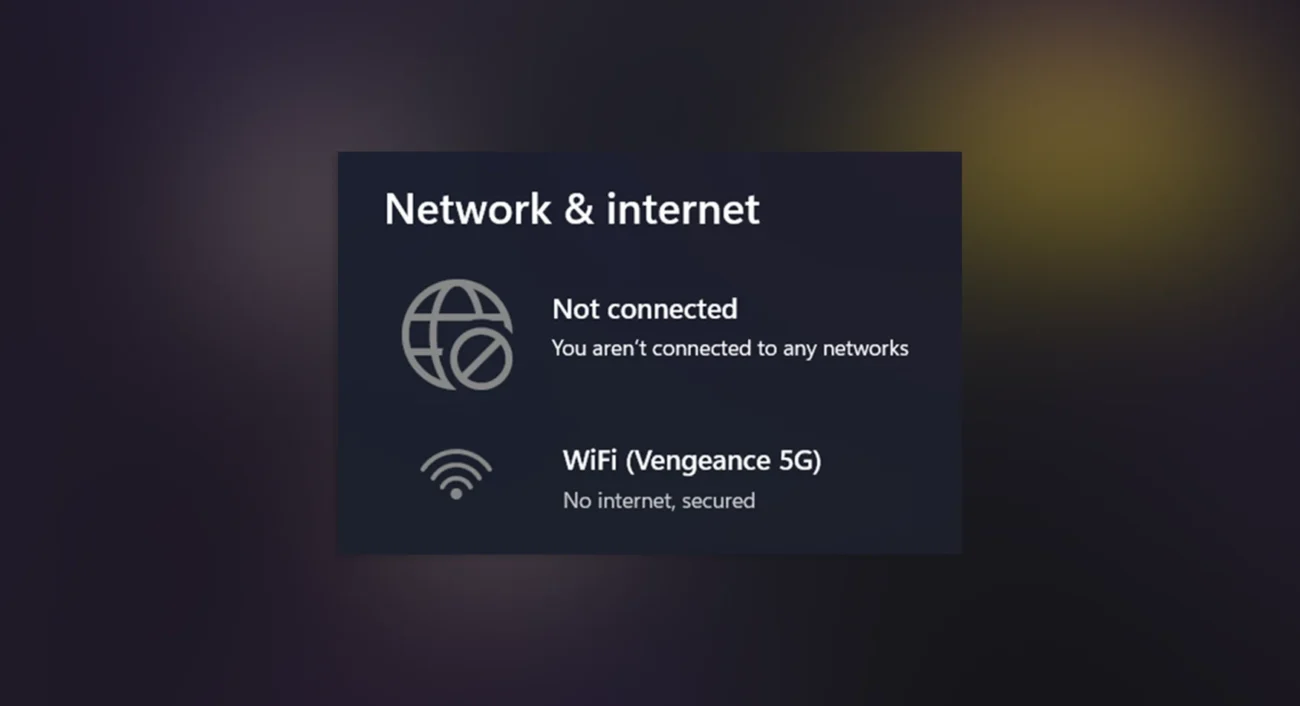
It is quite common for the users to find weird bugs in Windows, whether it is Windows 11 or 10. One such bug is seeing “No Internet, Secured” on your Ethernet or Wi-Fi connection, even when your internet is working perfectly fine. It can happen due to a number of reasons but mostly it is because of Windows.
If you’re experiencing this and can’t ignore it, here are some methods to fix it.
Before you begin with the tutorial, please do remember to restart once and see if that fixes the issue. A lot of bugs are solved simply by restarting the computer.
Methods to Fix “No Internet, Secured” When Internet is Working Fine
Method #1 – Change DNS:
This can happen due to DNS problems as well. Sometimes, we use custom DNS on our browser, so we don’t notice when the DNS setup on the router or Windows starts having issues.
So, change your DNS in the Network settings to a different DNS which works well for you. There are many free and secure DNS available, such as Cloudflare, OpenDNS, Google DNS etc.
Steps to change DNS Settings:
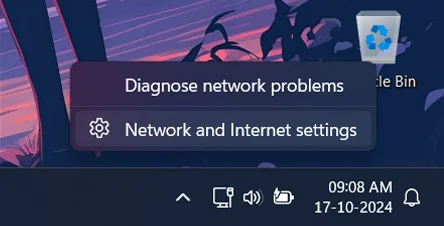
Step 1 – To change the DNS, right click on your Ethernet / Wi-Fi icon on the bottom right corner of the screen > Network and Internet Settings.
Step 2 –

For WiFi: Click on WiFi and then click on the Wi-Fi network you are connected to.
For Ethernet: Simply click on Ethernet.
Step 3 – Now Click on Edit next to DNS server assignment. And setup it according to your choice of DNS server.

If the issue was happening due to DNS settings, it should have been fixed now. You can try different DNS services just to be sure if changing DNS does not fix the problem for you.
Method #2 – VPN:
This can be another reason for No Internet error to show. At times, when you connect to a VPN server, Windows is unable to confirm whether the Internet is working or not and it may show “No Internet, Secured” dialog to you.
So, make sure that you are not using VPN when you don’t need to. I know people who once installed Cloudflare WARP and did not realise that it was starting with Windows and automatically connecting their computer to their VPN network.

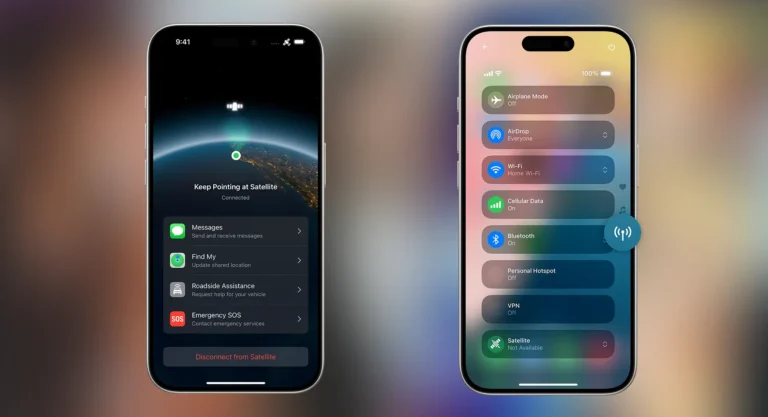
You should know if a VPN is connected by looking at the icons in Tray Icon panel.
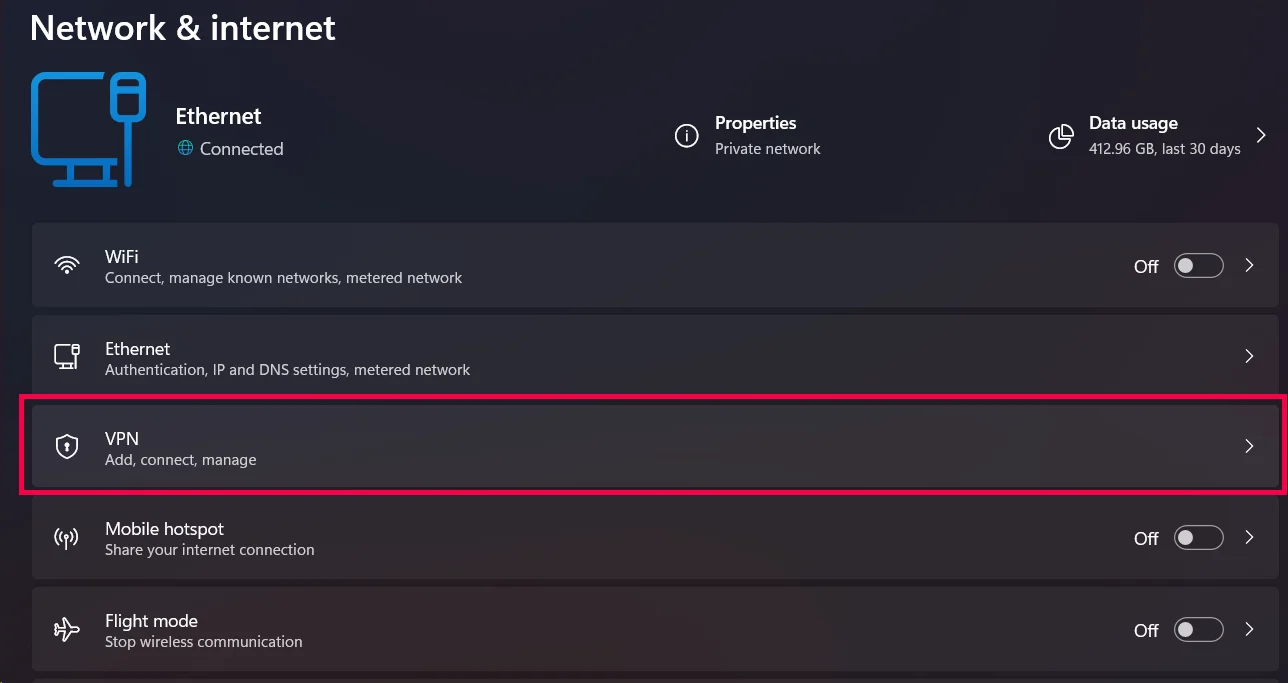
Apart from that, you can also check the VPN settings in Network & Internet Settings.
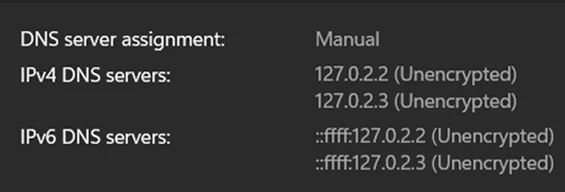
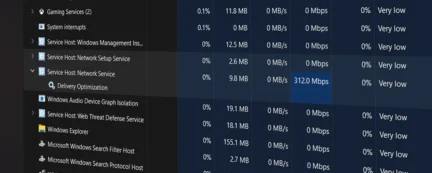
You can also realise that a VPN is connected if your DNS settings look like this:
Method #3 – Troubleshoot Network:
For many issues, Windows’s troubleshooting tool should be able to diagnose and either fix the issue or tell you what you can do to fix it. So, if nothing else worked for you, it is not a bad idea to try troubleshooting the network.
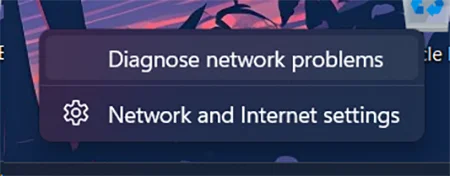
Right click on Ethernet / Wi-Fi icon and click on Diagnose network problems.
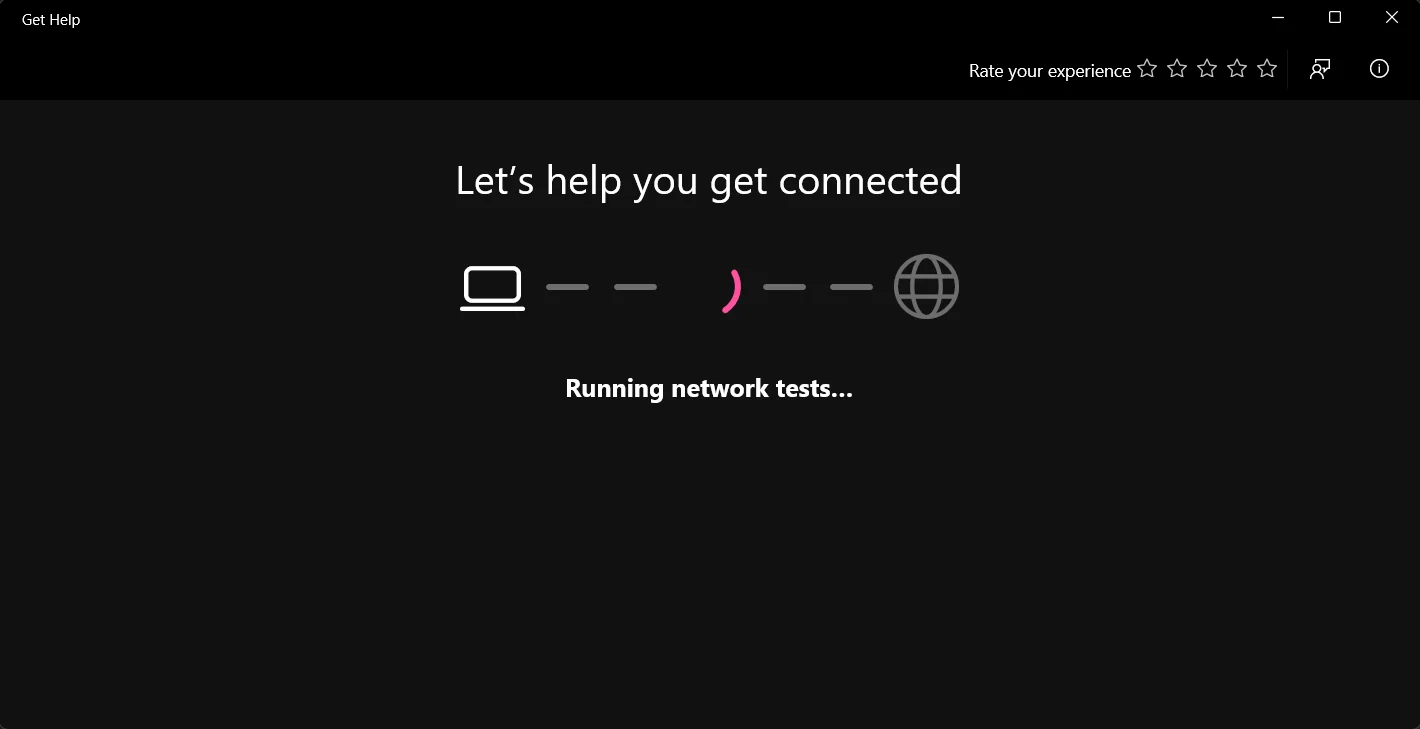
After that, just follow the instructions it provides.
Method #4 – Reset Your Network Settings:
You can reset your network settings and see if that fixes the issue. Do remember that any changes you have done on your computer’s network settings will be lost. So, make sure that there are important changes you or anybody else who uses the computer have done to network settings.
Once you are sure that you can proceed with it then here’s how you can reset the network settings:
Step 1 – Right click on Ethernet / Wi-Fi icon > Network and Internet settings.
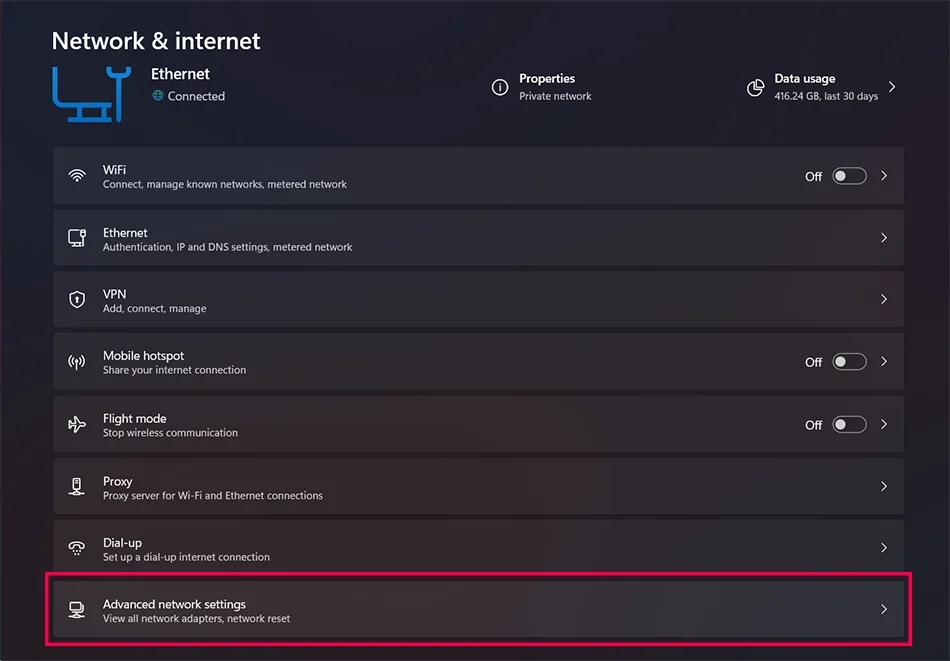
Step 2 – Scroll down a bit (if the option is not visible)> Advanced network settings.
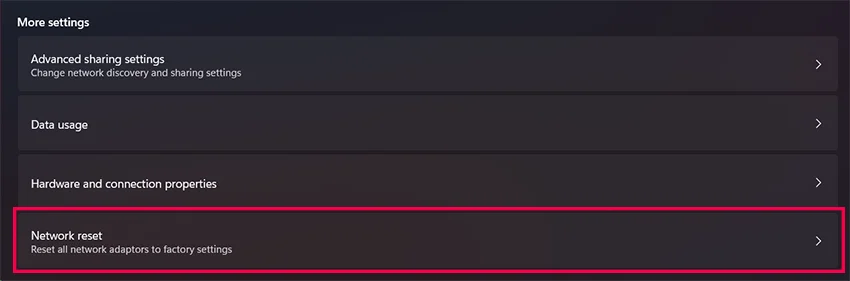
Step 3 – Click on Network reset.
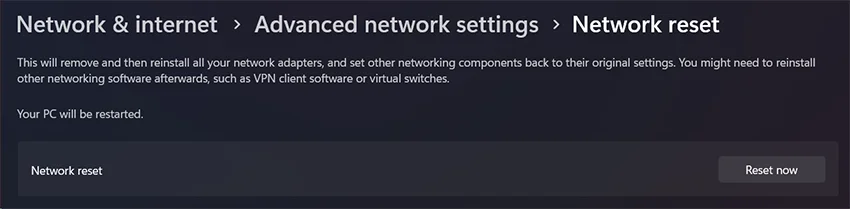
Step 4 – Now click on the Reset now button and then your PC will restart with default network settings. That’s all.
Method #5 – Update Ethernet / Wi-Fi Drivers:
If nothing helped you so far then this might be the last option. However, it is a bit complicated since finding the right drivers for your Ethernet and Wi-Fi adapters might not be easy.
However, you should be able to find the drivers on your Motherboard manufacturer’s website or laptop manufacturer’s website. Just remember to install the drivers for your exact model. Do not install drivers for another motherboard or laptop, just because they are similar.
Conclusion:
I hope the article was helpful for you in solving the problem of “No Internet, Secured” error even when your internet is working fine. You can also try updating your Windows and that may also fix it if the issue was caused by some recent Windows update. Be sure to let us know if the article was helpful to you and if yes, which method worked for you. Also, if you found another method to fix it, it would be great if you could share that with us.


Leave a Comment